
Ledger.com/Start – The Complete Beginner’s Guide to Setting Up Your Ledger
Introduction
In the world of cryptocurrencies, security is everything. With rising cases of hacks, scams, and phishing attacks, safeguarding your digital assets has become a top priority. That’s where Ledger steps in — a globally trusted name in hardware wallets designed to keep your cryptocurrencies safe offline.
The official setup page, Ledger.com/start
, is the go-to destination for initializing and managing your Ledger Nano X, Ledger Nano S Plus, or any other Ledger device. It provides step-by-step guidance on how to set up your hardware wallet, install Ledger Live, and secure your crypto assets.
In this detailed guide, we’ll walk you through everything you need to know about Ledger.com/start — from understanding how Ledger wallets work to troubleshooting common setup issues. Whether you’re new to crypto or an experienced investor, this guide ensures your setup process is smooth, secure, and successful.
1. What Is Ledger.com/Start?Ledger.com/start is the official onboarding portal for all Ledger hardware wallets. It helps users:
Set up their Ledger Nano X or Nano S Plus.
Download the Ledger Live app (available for desktop and mobile).
Learn how to create a new wallet or recover an existing one.
Manage and install crypto apps on their devices.
Access tutorials and security best practices.
⚠️ Important: Always use Ledger.com/start (the official website) — not third-party links — to download Ledger software. This ensures you’re not downloading fake or malicious firmware that could compromise your wallet.
2. Why Use a Ledger Hardware Wallet?Before diving into the setup, it’s essential to understand why Ledger wallets are considered the gold standard in crypto security.
a. Offline Cold Storage
Ledger devices store your private keys offline, away from internet-based threats. This means that even if your computer is infected with malware, your funds remain safe.
b. Secure Element Chip
Each Ledger wallet is equipped with a certified secure element (CC EAL5+) — the same type of chip used in passports and credit cards for secure data storage.
c. Ledger Live Integration
The Ledger Live app serves as your crypto management hub. It allows you to buy, sell, stake, and monitor your assets — all while your private keys never leave the device.
d. Multi-Asset Support
Ledger supports over 5,500 coins and tokens, including Bitcoin (BTC), Ethereum (ETH), Ripple (XRP), Litecoin (LTC), and ERC-20 tokens.
e. Continuous Security Updates
Ledger regularly releases firmware updates that enhance device security and expand coin compatibility.
3. Getting Started with Ledger.com/StartStep 1: Visit the Official Website
Go to Ledger.com/start
using your browser. You’ll be directed to the official Ledger setup page. From here, select your device — Ledger Nano X or Ledger Nano S Plus — to access the appropriate setup instructions.
Pro Tip: Always double-check the URL to make sure it begins with https://www.ledger.com/
to avoid phishing websites.
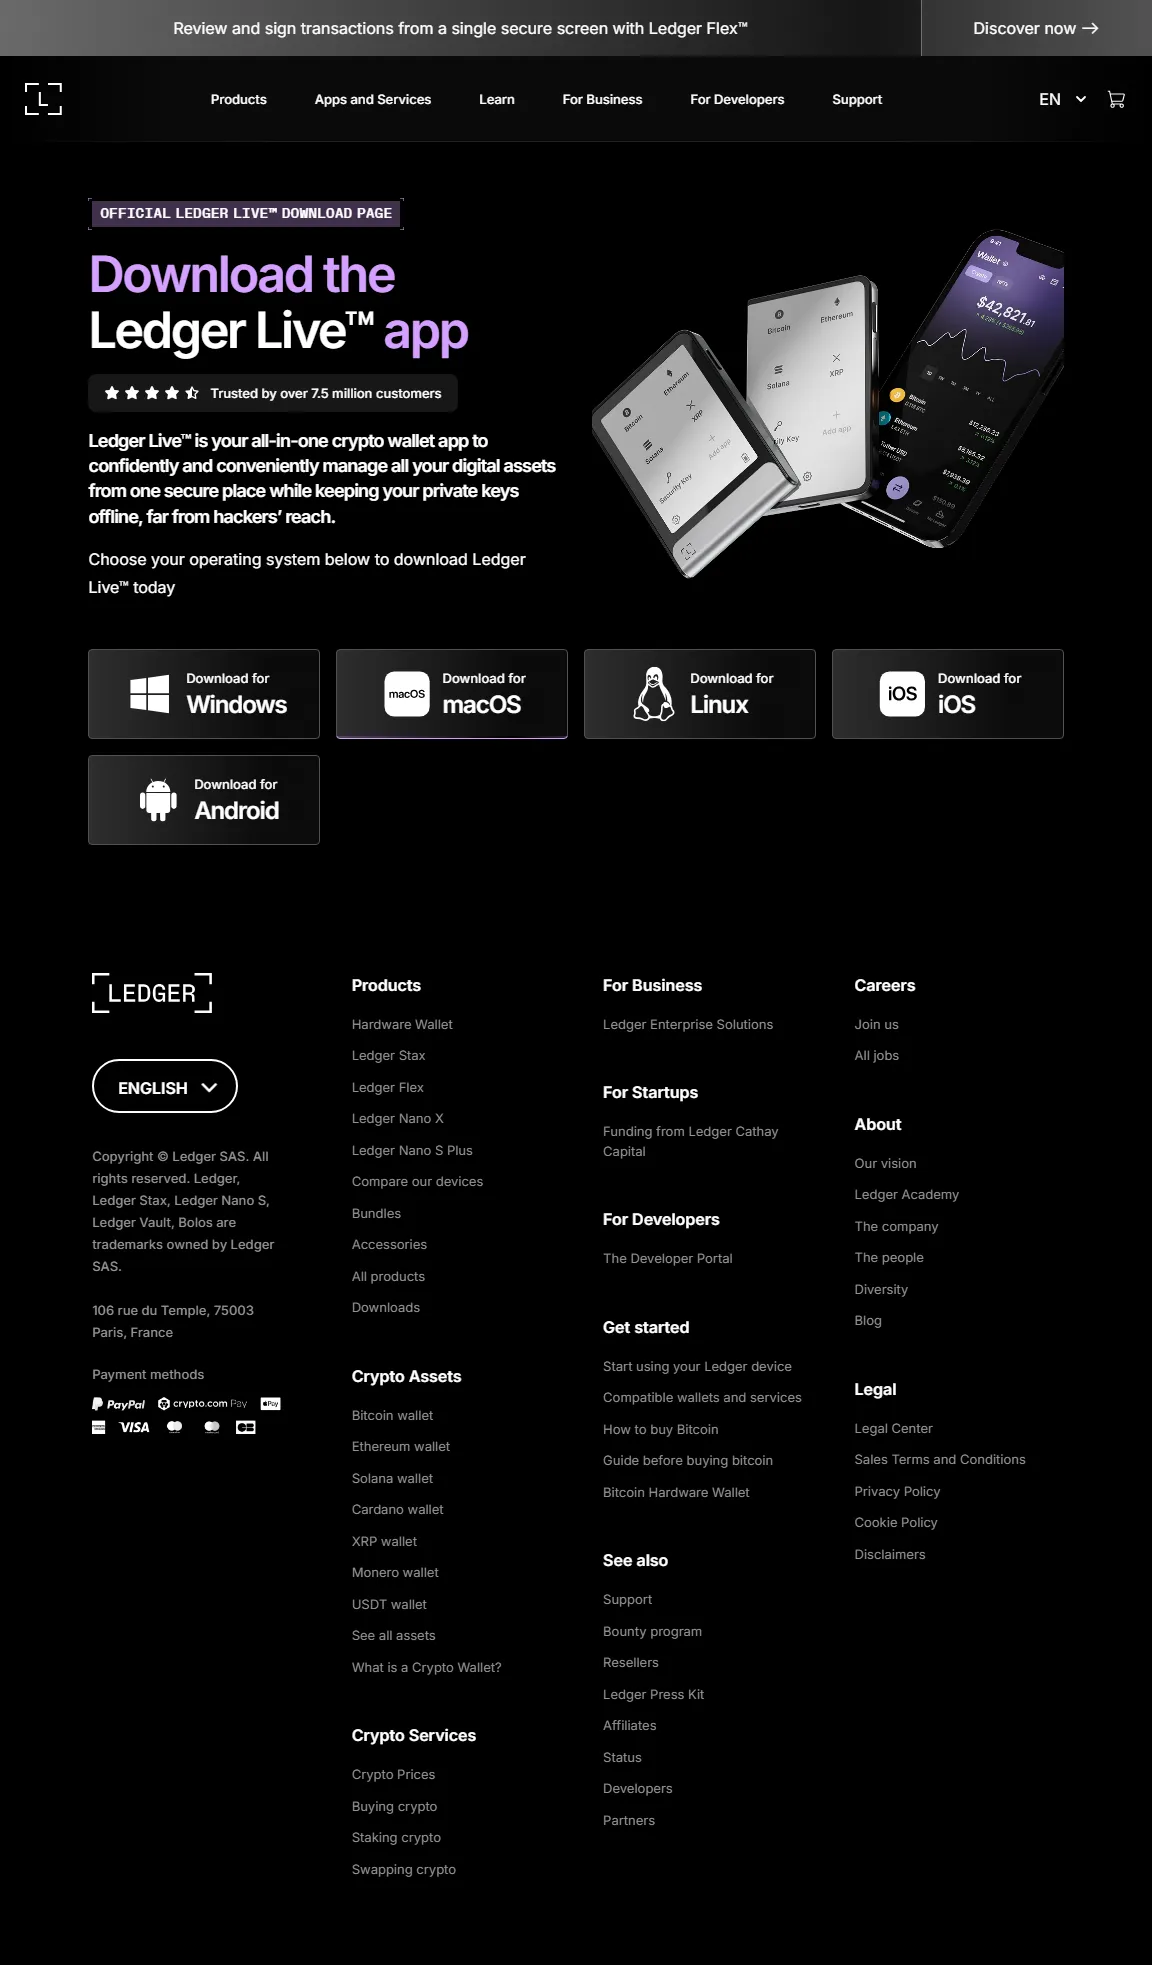
Step 2: Download Ledger Live
Next, you’ll be prompted to download Ledger Live, the companion application for your device. It’s available for:
Windows (8.1+)
macOS (10.14+)
Linux (Ubuntu 20.04+)
iOS and Android (via mobile app)
Once installed, open Ledger Live and follow the on-screen instructions.
Step 3: Set Up Your Ledger Device
When you connect your Ledger wallet for the first time, the device will guide you through the setup process.
You’ll have two options:
Set up as a new device – for first-time users.
Restore from recovery phrase – if you already have a recovery seed from a previous Ledger device.
Let’s go over both processes.
4. Setting Up as a New Devicea. Choose a PIN Code
You’ll first be asked to set a PIN code (4–8 digits). This PIN protects your wallet from unauthorized access. Every time you connect your Ledger device, you’ll need to enter this PIN.
Tip: Choose a PIN that’s easy for you to remember but difficult for others to guess.
b. Write Down Your Recovery Phrase
Next, your device will display a 24-word recovery phrase — also called the seed phrase.
This is the master key to your crypto wallet. If your device is lost, damaged, or stolen, you can use this phrase to restore your wallet and access your funds.
Important Guidelines:
Write the 24 words on the recovery sheet provided in your Ledger box.
Never take a screenshot or store the phrase digitally.
Keep your recovery sheet in a safe, offline location.
Do not share your recovery phrase with anyone — not even Ledger support.
c. Confirm Your Recovery Phrase
After noting the words, the device will ask you to confirm some of them to ensure you wrote them correctly. This step is crucial for verifying accuracy.
Once confirmed, your wallet setup is complete.
5. Restoring from an Existing WalletIf you already own a Ledger or another BIP39-compatible hardware wallet, you can restore it using your 24-word recovery phrase:
Choose “Restore from recovery phrase” on the device.
Enter each word carefully in the correct order.
Once done, create a new PIN.
This will restore all your previous wallet addresses and balances within Ledger Live.
6. Connecting Ledger to Ledger LiveOnce your hardware wallet is initialized, it’s time to pair it with Ledger Live.
Open Ledger Live on your computer or phone.
Click “Get Started.”
Choose your device (Nano X, Nano S Plus).
Follow the on-screen prompts to connect your device via USB or Bluetooth (Nano X supports both).
Verify the connection on your device screen.
After successful verification, your wallet is now ready to use!
7. Installing Crypto Apps on Your DeviceEach blockchain (like Bitcoin, Ethereum, Solana) requires its own Ledger app.
To install them:
Open Ledger Live → My Ledger tab.
Connect and unlock your device.
Allow Ledger Manager on the device.
Search for your desired coin and click Install.
Each app takes some memory space, but you can uninstall and reinstall them anytime — your assets remain safe even if you remove the app.
8. Receiving and Sending CryptoOnce your apps are installed, you can start transferring crypto to your wallet.
To Receive Crypto:
In Ledger Live, click Receive.
Select the asset (e.g., Bitcoin).
Verify the receiving address on your Ledger device screen.
Copy and share this address with the sender.
Always verify the address on your device — this prevents malware from replacing it.
To Send Crypto:
Go to Send in Ledger Live.
Enter the recipient’s wallet address and amount.
Confirm transaction details on your Ledger device.
Approve and sign the transaction.
The device ensures your private keys never leave the hardware — even when signing transactions.
9. Updating Firmware via Ledger.com/StartLedger frequently releases firmware updates to enhance security and add features.
To update:
Open Ledger Live → My Ledger.
Connect your device.
Follow the update instructions carefully.
Note: Never disconnect your device during the update process.
10. Troubleshooting Common IssuesEven though Ledger wallets are user-friendly, you may occasionally face setup or connection problems. Here’s how to resolve them:
a. Device Not Recognized
Try another USB cable or port.
Reinstall Ledger Live.
Disable antivirus temporarily.
Ensure your OS is updated.
b. Ledger Live Freezing or Crashing
Clear the cache in Ledger Live settings.
Restart your computer.
Reinstall the app if needed.
c. “Firmware Update Failed”
Retry the update.
Use a different computer or USB port.
If still failing, contact Ledger Support via their official help center.
d. Lost Recovery Phrase
Unfortunately, Ledger cannot recover your phrase — it never leaves your device. If lost, and you still have access to your wallet, move your funds to a new wallet and generate a new recovery phrase immediately.
11. Security Best PracticesTo ensure your funds remain 100% secure:
Buy only from official sources – Ledger.com or authorized resellers.
Never share your 24-word seed with anyone.
Avoid third-party apps claiming to manage Ledger wallets.
Use a strong PIN and don’t reuse it elsewhere.
Regularly check Ledger Live for firmware and app updates.
Enable password lock in Ledger Live for extra protection.
12. Using Ledger Live FeaturesBeyond basic wallet management, Ledger Live offers an entire ecosystem of crypto tools:
a. Buy and Sell Crypto
Purchase crypto directly using Ledger Live’s integrated partners like MoonPay and Ramp.
b. Swap and Exchange
Swap one crypto for another using services like Changelly or 1inch, without leaving Ledger Live.
c. Stake and Earn Rewards
You can stake coins such as ETH, ADA, DOT, and ATOM to earn passive income while maintaining full control over your funds.
d. NFT Management
Ledger Live now supports Ethereum and Polygon NFTs, letting you view, send, and receive NFTs securely.
e. Portfolio Tracking
Monitor your total holdings, real-time prices, and transaction history — all in one dashboard.
13. Ledger Nano X vs. Nano S PlusFeature Ledger Nano X Ledger Nano S Plus
Connectivity USB & Bluetooth USB-C only
Storage Capacity Up to 100 apps Up to 100 apps
Battery Yes (built-in) No
Portability High Medium
Best For Active traders & mobile users Desktop-focused users
Both devices use the same secure element and offer identical protection. Your choice depends on mobility and convenience preferences.
14. Recovering Wallet via Ledger.com/StartIf you ever lose your device:
Buy a new Ledger.
Visit Ledger.com/start.
Choose “Restore from recovery phrase.”
Enter your 24 words carefully.
Your funds will reappear automatically once you connect to Ledger Live.
15. Avoiding Scams and Fake Ledger WebsitesAs Ledger’s popularity has grown, so have phishing scams. Be extremely cautious:
Always type ledger.com/start manually — never click unknown links.
Ledger will never ask for your recovery phrase via email or phone.
Bookmark the official URL for future visits.
Verify SSL (🔒 symbol) and domain spelling.
16. Customer Support and CommunityIf you encounter problems, you can access:
Official Support: https://support.ledger.com
Community Forum: https://www.reddit.com/r/ledgerwallet
Twitter/X Updates: @Ledger
Be patient — Ledger support will never ask for private information.
17. Final Tips for Long-Term SecurityStore your recovery phrase in a fireproof safe or metal backup plate.
Keep multiple backups in separate secure locations.
Use Ledger Recover (optional paid feature) only if you fully understand its implications.
Regularly review your security hygiene — especially before making major transactions.
Conclusion
Your crypto journey begins with one crucial step — secure storage. By setting up your device through Ledger.com/start
, you’re taking the most important measure to protect your digital wealth.
Ledger hardware wallets combine the convenience of Ledger Live with the unmatched security of cold storage, giving you complete control over your assets. Whether you’re holding Bitcoin, Ethereum, or NFTs, your funds remain safe — offline, encrypted, and entirely yours.
So, visit Ledger.com/start today, set up your wallet, and step confidently into the future of decentralized finance with Ledger — your trusted partner in crypto security.
